


| Insight | Why It Matters | Application | Tags |
|---|---|---|---|
| Learn how to access your website’s MySQL database safely using basic credentials. | Many site owners receive login details but don’t know how to connect or manage their data. | Helps beginners manage, back up, or troubleshoot their database through cPanel, phpMyAdmin, or MySQL Workbench. | MySQL, website management, database access, cPanel, hosting tips |
If you have a website hosted on a shared or private server, chances are you’ve been given three important pieces of information: your database name, username, and password. These are your keys to your site’s heart the MySQL database that stores everything from posts and users to settings and configurations.
However, many website owners receive these credentials and have no idea what to do next. This guide breaks down, in plain English, exactly how to access your MySQL database securely and confidently, whether you’re using phpMyAdmin, cPanel, or tools like MySQL Workbench.
Step 1: Understand What Your Database Credentials Mean
Your hosting provider or developer usually shares three main details:
- Database Name: The specific database that stores your website’s data.
- Username: The authorized user that can log in and interact with the database.
- Password: The secure key protecting access to your data.
Think of it like logging into your email the username identifies you, the password verifies you, and the database name tells the system which inbox to open.
Step 2: Accessing the Database via cPanel
If your hosting account includes cPanel, accessing MySQL is easy.
- Log in to cPanel using your hosting credentials.
- Navigate to Databases → phpMyAdmin.
- Once phpMyAdmin opens, you’ll see a list of available databases on the left panel.
- Click on your database name, and you’ll instantly see all your website tables.
From here, you can view, edit, or export data, but always back up your site before making any changes.

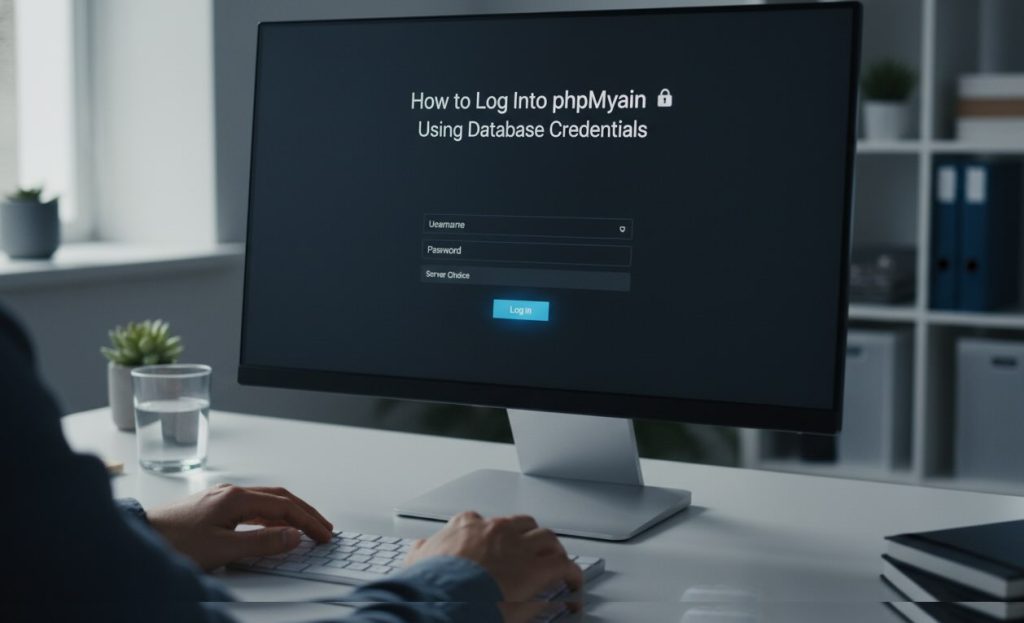
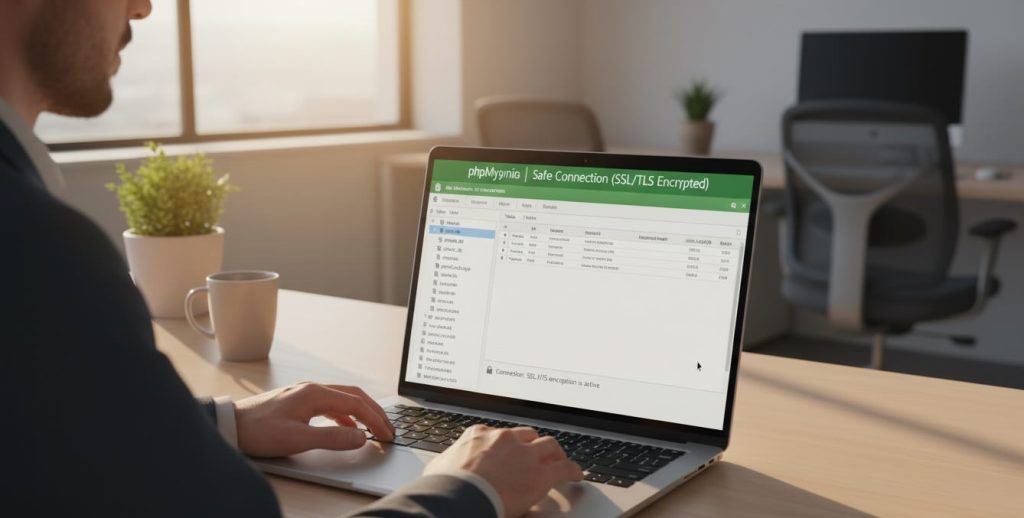
Step 3: Using phpMyAdmin Without cPanel
Some hosting services provide direct access to phpMyAdmin through a custom URL (for example, yourdomain.com/phpmyadmin).
Simply open that link, enter your username and password, and select your database name from the sidebar.
Once inside, you can explore tables such as wp_posts, wp_users, and wp_options if you’re running a WordPress website. It’s the same data that powers your site, but now you’re viewing it directly.
Step 4: Connecting Through MySQL Workbench
If you prefer desktop software, MySQL Workbench offers a powerful, visual way to connect.
- Download and install MySQL Workbench from the official MySQL site.
- Launch it and click the + icon to add a new connection.
- Enter your host address (usually
localhostor your server IP), then add your username, password, and database name. - Click Test Connection if successful, click OK to access your data.
This is especially useful for developers or advanced users managing multiple databases.
Step 5: Always Secure Your Access
Security is key. Never share your database credentials publicly, and avoid saving them in plain text. If possible, create a limited-access user for routine work, and back up your database regularly to avoid accidental data loss.
The Bigger Picture:
As more small business owners and content creators build their own websites, understanding how to access and manage a MySQL database is becoming essential. Tools like phpMyAdmin and MySQL Workbench make this process accessible to non-technical users. For U.S. site owners, learning to securely log in, edit, or back up a database can mean saving thousands of dollars in developer fees and protecting vital business data. This basic technical literacy empowers individuals to take control of their digital assets, improve site performance, and troubleshoot issues faster all while staying secure in the ever-evolving digital landscape.
#MySQL #WebHosting #DatabaseTips #WebsiteManagement #cPanel #WebSecurity #TechEducation #WordPress #MySQLWorkbench #DigitalSkills #WebsiteOwners #TechGuide #HostingSupport #DataManagement


0 Responses
No responses yet. Be the first to comment!